DIY vs. Professional Drywall Repair
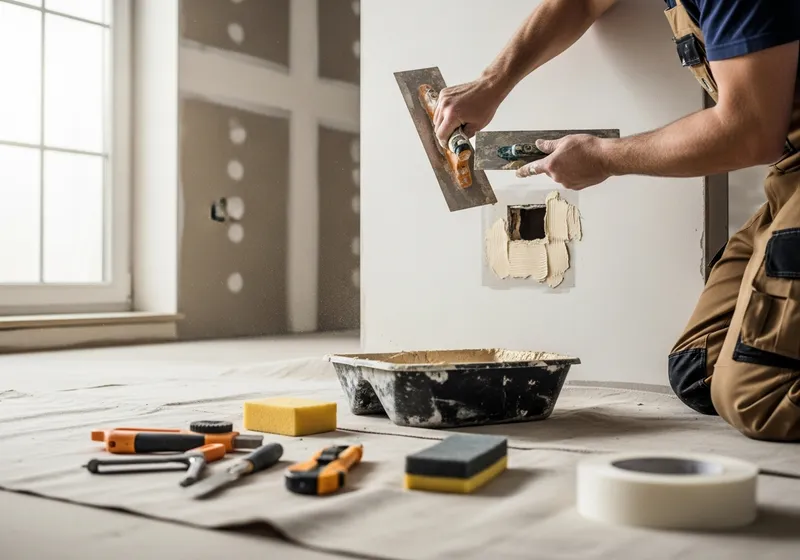
Not every drywall problem needs a contractor — but some absolutely do. Knowing the difference saves you money on the small stuff and saves you from a costly, obvious patch on the big stuff. This guide breaks down common drywall repairs by difficulty, walks through how the pros do it, and gives you clear signals for when to grab a putty knife versus when to pick up the phone.
A Quick Difficulty Scale
Here's how common repairs stack up, from genuinely DIY-friendly to jobs that reward experience:
| Repair | Difficulty | DIY-Friendly? |
|---|---|---|
| Nail holes, small dents | Easy | Yes |
| Anchor holes (up to ~1") | Easy–Moderate | Yes, with mesh |
| Medium holes (2"–6") | Moderate | Maybe |
| Large holes (6"+) | Hard | Usually pro |
| Cracks at seams/corners | Moderate–Hard | Often pro |
| Water-damaged drywall | Hard | Pro |
| Ceiling repairs | Hard | Pro |
| Texture matching | Hard | Pro |
Repairs You Can Handle Yourself
Nail Holes and Small Dents
The easiest fix in drywall. Fill with lightweight spackle using a flexible putty knife, let it dry, sand lightly, and touch up with paint. A tube of spackle and ten minutes is all it takes. For a row of picture-hanging holes, this is a satisfying afternoon job.
Small Anchor Holes
Holes up to about an inch from wall anchors or screws can be DIY'd with a self-adhesive mesh patch or a dab of setting-type compound. Apply, feather the edges wide so the patch doesn't telegraph, sand, and paint. The trick amateurs miss is feathering — spreading the compound well beyond the hole so there's no bump.
Where DIY Gets Risky
Medium Holes (Doorknob-Sized)
A 2"–6" hole — think doorknob-through-the-wall — needs a backing patch or a California/butterfly patch to bridge the opening. It's doable for a confident DIYer, but getting it flat and invisible under paint takes practice. Many homeowners can make it *structurally* fine but end up with a visible bulge or depression.
Cracks Along Seams and Corners
Hairline cracks that follow a taped seam or run out from door and window corners are usually a sign of movement — settling, seasonal expansion, or a failed tape joint. Simply filling them almost always fails; the crack reopens within a season. The proper fix is to cut out the old tape, re-tape with the right compound, and refinish. This is why cracks are a common reason to call a pro. If your home has recurring cracks, our guide on why drywall cracks keep coming back explains the underlying causes.
Repairs That Really Should Be Professional
Large Holes (6"+)
Big openings need a proper drywall patch cut to fit, secured to backing or furring, taped, and finished in multiple coats. Beyond a certain size it's faster and cleaner to replace the whole sheet between studs. This is squarely professional repair and patching territory.
Water-Damaged Drywall
Water damage is deceptive. By the time you see staining or softness, moisture has often spread behind the surface, and mold may be growing where you can't see it. Damaged board usually has to be cut out, the cause of the leak fixed, the cavity dried, and new — often moisture-resistant — board installed. Patching over wet or contaminated drywall just hides a growing problem. See our guide on repairing vs. replacing water-damaged drywall for what to look for.
Ceiling Repairs
Ceilings are harder than walls for one simple reason: gravity. Working overhead, holding compound in place, and matching texture on a surface everyone looks up at is genuinely difficult. Ceiling patches also sit under raking light more often, exposing flaws. Our ceiling repair service handles stains, cracks, sagging, and popcorn removal.
Texture Matching
This is the skill that separates a professional patch from an obvious one. Utah homes have knockdown, orange peel, skip-trowel, and hand-textured walls, and matching an existing texture takes the right tools, the right compound consistency, and real practice. A perfect flat patch still looks like a patch if the texture doesn't blend. Our texture matching guide covers how it's done.
How the Pros Get an Invisible Patch
The difference between a DIY patch and a professional one comes down to a few habits:
- Feather wide. Compound is spread far beyond the repair so there's no visible edge or bump.
- Multiple thin coats. Pros build up two or three thin coats, sanding between, rather than one thick glob.
- Proper sanding and lighting. A work light held at a low angle reveals imperfections before paint does.
- Texture and paint matching. The final patch matches both the surface texture and the sheen of the surrounding wall.
The Bottom Line
Grab the spackle for nail holes, small dents, and minor anchor holes. Think twice about medium holes and cracks. And call a professional for large holes, water damage, ceilings, and anything requiring texture matching — the cost of a redo usually exceeds the cost of doing it right the first time.
If you're staring at a repair and not sure which side of the line it falls on, send us a photo or request a free estimate. We'll tell you honestly whether it's a quick DIY or a job worth handing off — and we service the whole Salt Lake and Davis County area with texture-matched repairs.